01-Beginning
First an introduction about the interface we will be making use of to create and render our animation. That interface is Pixar’s RenderMan Interface; from this point on we will use the ${RMANTREE}/include/ri.h
file (installation is described below) as our reference for the interface.
Hence forth when mentioning the interface, I am talking specifically about what is found in this C header file. Additional information about the interface will be included to round out our knowledge as needed, but the intention of this series is to have a very dry (read technical) foundation to construct our own toolkit on.
And to the Interface
The RenderMan Interface was first (starting from version 3.0 publically) published in 1988; it describes itself as a standard interface between modeling programs and rendering programs capable of producing photorealistic quality images. The important aspect for us to note is the standard interface between modeling and rendering. As one of the goals of this series is to bypass the existing modeling/animation programs, this interface becomes our way in to talk directly to the rendering programs.
One of the nicer aspects of this interface (via RIB) is its accessability for us humans. This is an important factor in the interface’s quality as a standard, the low-level usage/langauge between programs is human readable; because of this we are able to take the role of modeler program ourselves and describe the scene we want the renderer to work from. There is no binary file format to get in the way.
Making a Start
Our first goal is to setup our working environment. This will mainly be setting up our two chief tools, a RenderMan capable renderer and the golang language. A brief authors note – due to the complexities of installing software that continously changes, and the number of available operating systems to install said software on, I’ll actually point you in the right direction rather then take you through installation step-by-step. This series is about doing things for yourself after all.
A Renderer
As of this writing, Pixar actually allows a non-commerical license for their Photorealistic RenderMan (prman). So you can make use of the rendering program that grew up hand-in-hand with the interface. I will assume we are all using prman for this series, but many other RenderMan renderers exist to try and develop with.
Go Language
We will specifically make use of golang – an open source programming language that makes it easy to build simple, reliable, and efficient software. The site has very nice installation instructions for various platforms. You can however make use of any other programming language to follow along, just note that my examples will be in golang so you’ll have to be translator for your selection.
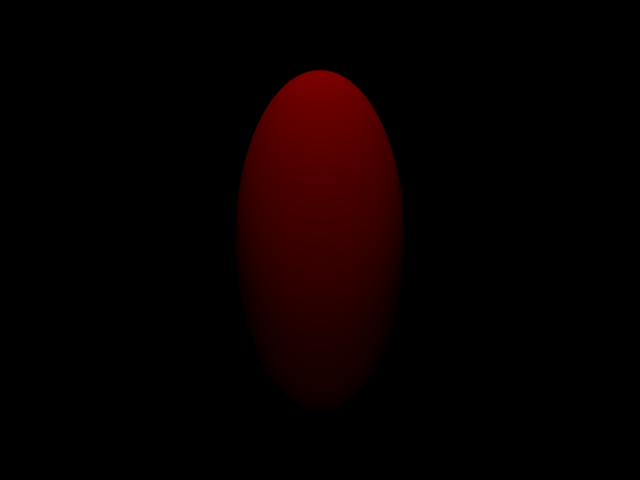
Can we have an Example Please?
To finish lets have an example of the interface, specifically the RenderMan Interface Bytestream (RIB) and the rendered product of that example.
##RenderMan RIB
##Scene beginning.rib
version 3.04
Display "beginning.exr" "openexr" "rgba"
Format 640 480 1
Projection "perspective" "float fov" [60]
Hider "raytrace" "int maxsamples" [512] "int minsamples" [16] "int incremental" [100]
Integrator "PxrPathTracer" "example"
WorldBegin
	Translate 0 0 10
	AttributeBegin
		Translate 0 10 -5
		Scale 3 3 3
		Light "PxrSphereLight" "fill_light" "float intensity" [5.0]
	AttributeEnd
	AttributeBegin
		Translate 0 0 -10
		Rotate 180 0 1 0
		Scale 2 2 2
		Light "PxrSphereLight" "key_light"
	AttributeEnd
	AttributeBegin
		Bxdf "PxrDiffuse" "surface" "color diffuseColor" [1 0 0]
		Scale 2 4 2
		Sphere 1 -1 1 360
	AttributeEnd
WorldEnd
render -d it -progress beginning.ribNext Time
We will dissect the beginning.rib scene, explore some of the ${RMANTREE}/lib/plugins/Args
directory and look at our first golang program.